The key to finding boots that last isn’t the brand, but your ability to perform a pre-purchase failure point analysis.
- Most boots fail due to predictable weaknesses in construction, material choice, and user error, not random chance.
- Evaluating stitch density, sole attachment method, and material quality separates a disposable boot from a long-term investment.
Recommendation: Stop shopping for features and start inspecting for structural integrity. This guide teaches you how.
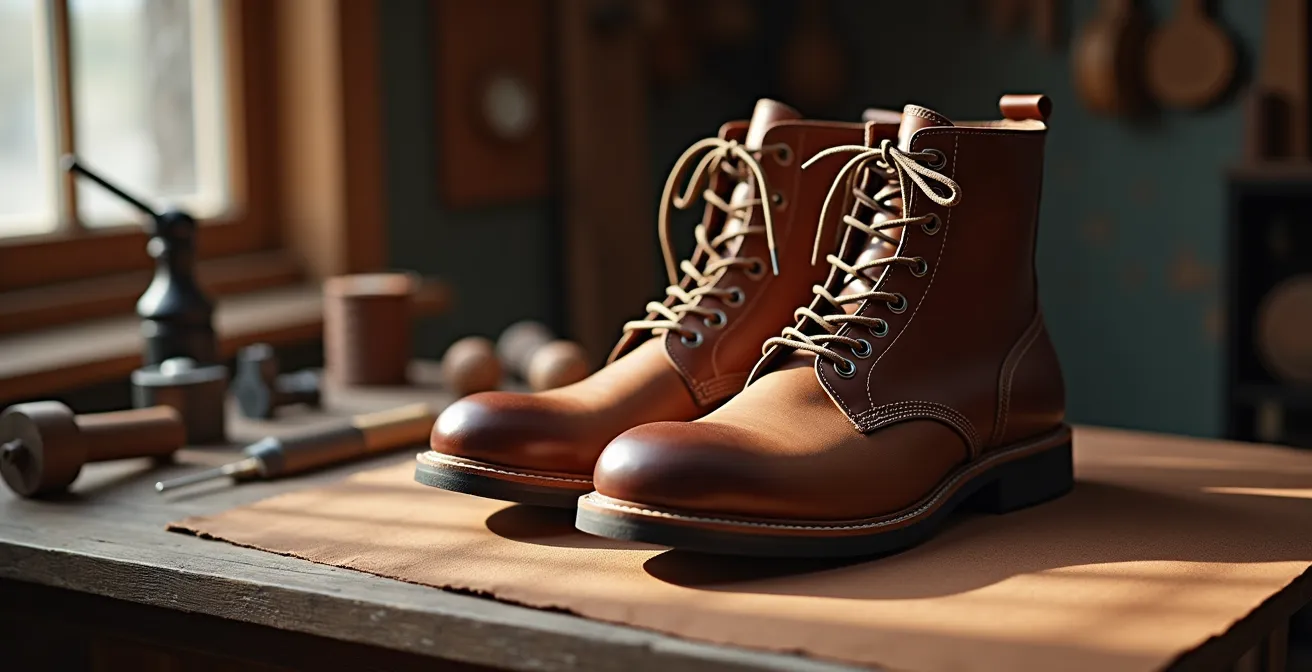
The graveyard of failed hiking boots is a familiar sight for any serious outdoor enthusiast. A cracked flex point after one season, a sole peeling away on the trail, a heel lining shredded to foam. The common response is to blame the brand or a “bad batch,” but from a materials engineering perspective, these are rarely surprises. They are predictable outcomes of specific choices in design, materials, and construction. Most modern boots are designed with planned obsolescence baked into their very structure, prioritizing low-cost manufacturing over long-term resilience.
The market is saturated with advice focusing on superficial features: waterproof membranes, aggressive lugs, and flashy colorways. While these have their place, they say little about a boot’s ability to withstand years of torsional stress, abrasion, and repeated impact. True durability is a function of less glamorous, often hidden, attributes. It’s found in the density of the stitching, the chemical composition of the midsole, and the way the sole is married to the upper.
This guide departs from the conventional checklist. Instead, it provides an analytical framework for deconstructing a boot before you buy it. You will learn to think like a gear tester, moving beyond marketing claims to identify the critical failure points. We will dissect the anatomy of a boot, revealing why they break and how to spot the hallmarks of construction integrity. The goal is to empower you to make an informed investment in footwear that will serve you for 5+ years, not just 12 months.
To help you navigate this technical deep-dive, this article breaks down the essential criteria for assessing boot longevity, from structural analysis to material science and proper maintenance.
Summary: How to Identify Durable Boots That Survive 5+ Years of Abuse?
- Why Most Modern Boots Fail at the Flex Point Within 12 Months?
- How to Spot Weak Stitching Before Buying a New Pair of Boots?
- Cemented vs Goodyear Welt: Which Construction Handles Rocky Terrain Better?
- The Lacing Mistake That Destroys Heel Linings in Under a Year
- When to Resole Your Boots to Extend Their Life by another 3 Years?
- How to Heat Wax for Deep Penetration Without Burning the Leather?
- Leather vs Cordura: Which Material Survives Sharp Limestone Rocks?
- High-Performance Hiking Boots: Which Model Maximizes Agility on Alpine Trails?
Why Most Modern Boots Fail at the Flex Point Within 12 Months?
The single most common point of catastrophic failure on a boot is the flex point—the area across the vamp where your foot naturally bends. This zone endures thousands of compression and tension cycles on every hike. Manufacturers, in a bid to cut costs, often use inferior materials here that are doomed to fail from material fatigue. The primary culprit is the widespread use of cheap, low-density EVA (ethylene vinyl acetate) foam in midsoles, which compresses and loses its structural integrity over time, leading to cracks in the upper.
Another factor is the quality and thickness of the upper material itself. Many modern boots use thin leather splits or synthetic fabrics coated with a PU layer to give the appearance of durability. However, these coatings quickly crack and delaminate at the flex point. A dissection of premium boots often reveals a stark difference; for instance, a high-quality boot might feature an outer leather of 1.7 millimeters and a lining leather of 1.2 millimeters. This substantial thickness provides inherent resistance to creasing and cracking. In contrast, cheaper boots use leather or synthetics that are visibly thinner and feel less substantial.
To identify a robust flex point, you must inspect for three things. First, look for reinforced construction, such as double or triple stitching at the vamp. Second, inquire about the midsole material. Boots with polyurethane (PU) or leather midsoles will far outlast those with simple EVA. Third, assess the leather quality. Full-grain leather should feel thick and dense, not like a thin material with a plastic-like coating. While a study shows that high-quality work boots can last 3 to 5 years, this is only achievable if the materials can withstand the cyclical stress at this critical point.
How to Spot Weak Stitching Before Buying a New Pair of Boots?
Stitching is the skeleton of a boot, holding the various pieces of the upper together under immense stress. Yet, it’s an area where corner-cutting is rampant and difficult for the average consumer to spot. Weak stitching, characterized by low stitch density and poor thread quality, is a primary reason why boots used in demanding environments fail prematurely. For those in jobs with harsh conditions, a boot’s lifespan can drop to 1 to 3 years, largely due to stitching and seam failure.
When inspecting a potential new pair, ignore the marketing and focus on the physical evidence. The first metric is stitch density, measured in stitches per inch (SPI). A higher SPI generally indicates a stronger seam. Look for tight, consistent, and uniform stitches. Run your finger over the seam; it should feel smooth and solid, not loose or uneven. Pay close attention to critical stress areas: where the tongue meets the vamp, around the heel counter, and especially where the upper joins the sole.
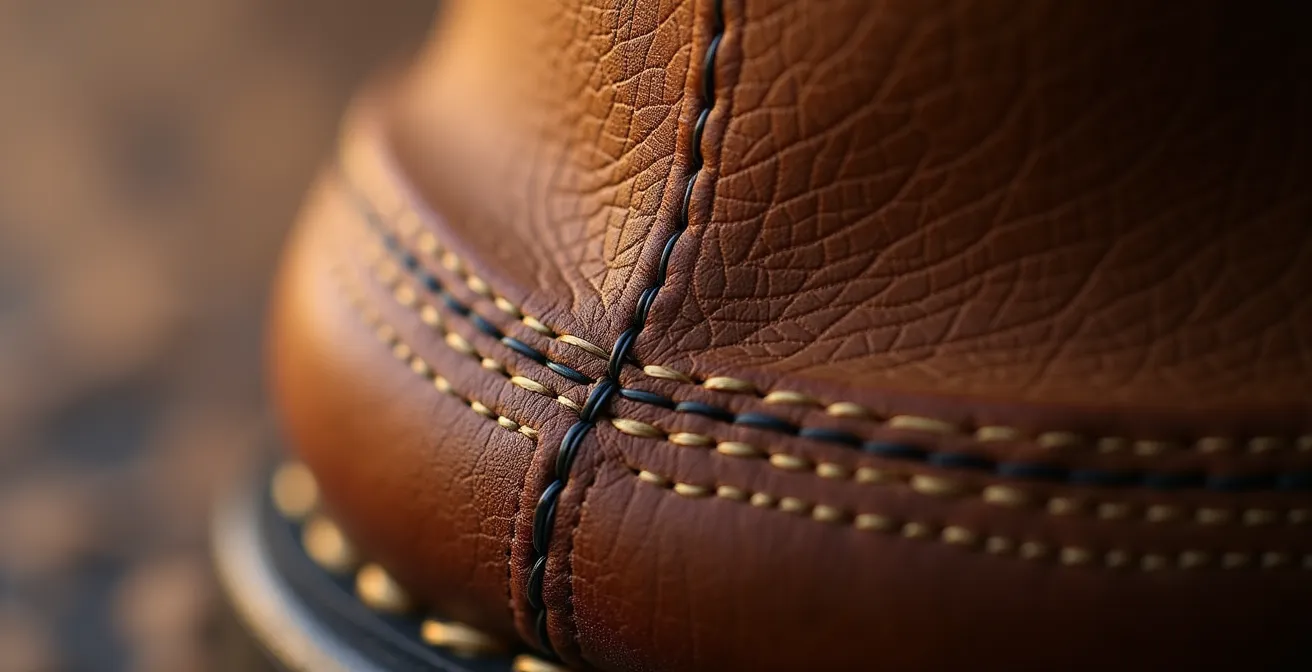
The second metric is the number of rows. A single row of stitching is a major red flag for a boot intended for rugged use. Look for double or, ideally, triple-stitched seams at major stress points. This redundancy is not for aesthetics; if one row of thread is abraded and fails, the others continue to hold the seam together. The type of thread is also critical, though harder to identify visually. High-end bootmakers use heavy-gauge, rot-resistant nylon or polyester thread, which provides superior tensile strength and durability against moisture compared to standard cotton or low-grade synthetic threads.
Cemented vs Goodyear Welt: Which Construction Handles Rocky Terrain Better?
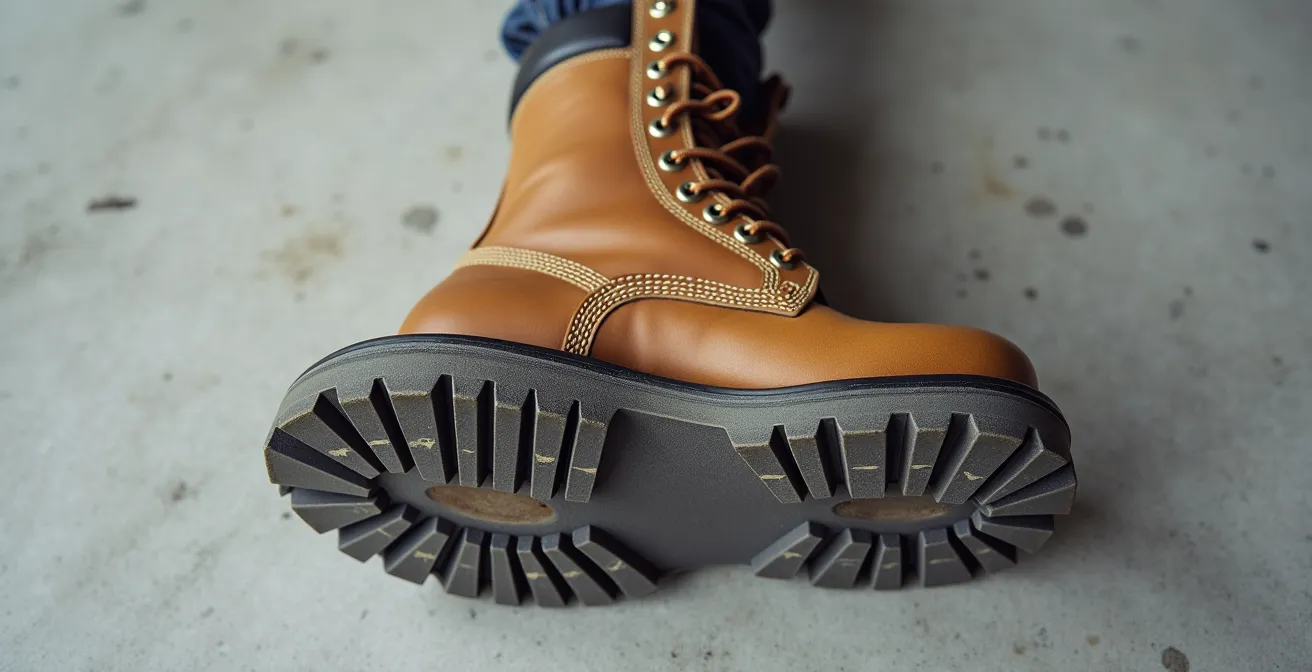
The method used to attach the sole to the upper is arguably the most important factor in a boot’s durability and longevity. This is where the concepts of “construction integrity” become paramount. For rocky terrain, which subjects a boot to constant torsional forces and sharp impacts, a cemented construction is fundamentally inadequate. In this method, the sole is simply glued to the upper. The adhesive is a critical point of failure, prone to delamination from water exposure, heat, and flexing.
For superior performance on rough ground, a welted construction is non-negotiable. The two most reputable methods are the Goodyear welt and the Stitchdown (or Veldtschoen) welt. A Goodyear welt involves a strip of leather (the welt) stitched to the upper, and then the outsole is stitched to that welt. This creates a highly durable, water-resistant, and, most importantly, easily resoleable boot. Stitchdown construction goes a step further, flanging the upper outward and stitching it directly to the midsole and outsole, creating an exceptionally stable and water-resistant platform.
The following table, based on data from footwear experts, highlights the dramatic differences in durability and lifespan. As an expert guide on construction methods shows, the choice directly dictates the boot’s potential for a long service life.
| Construction Method | Durability | Resoleable | Typical Lifespan |
|---|---|---|---|
| Goodyear Welt | Excellent | Yes (Multiple times) | 3-10+ years |
| Stitchdown | Superior | Yes (Multiple times) | 5-10+ years |
| Cemented/Glued | Fair | No | 1-2 years |
While both are excellent, they have nuances for specific conditions. As the technical team at Nicks Boots explains, the choice can impact performance in wet environments:
A traditional Goodyear welt is more susceptible to leakage than a storm welt, and stitchdown boots are less susceptible than a storm welt. A Goodyear welt allows water to get over the welt and leak into the upper, but a storm welt adds an additional barrier. Stitchdown construction removes the need for that barrier, as the ‘welt’ is actually the upper itself.
– Nicks Boots Technical Team, Nicks Boots Blog on Boot Construction and Waterproofing
The Lacing Mistake That Destroys Heel Linings in Under a Year
Even the most well-constructed boot can be prematurely destroyed by a simple, often overlooked user error: improper lacing that allows for excessive heel lift. When your heel slips up and down inside the boot with every step, it creates a constant abrasive force against the heel lining. Over time, this friction will wear through even the most durable leather or fabric lining, exposing the underlying foam and structural components of the heel counter. This not only ruins the boot but also leads to blisters and discomfort.
Many hikers assume heel slip is a sign of a poorly sized boot. While that can be a factor, it’s more often a result of a lacing technique that fails to secure the heel in the boot’s heel cup. You can diagnose this easily: while walking, you should not be able to fit more than a finger’s width of space behind your heel. Minimal movement (about 1/8 to 1/4 inch) is normal during the break-in period, but significant slippage indicates a problem that needs to be addressed immediately through lacing.
The solution is a specific lacing technique known as the “heel lock” or “runner’s lock.” This method utilizes the top two eyelets to create a pulley system that cinches the boot around your ankle, pulling your heel firmly into the back of the boot and eliminating slip. It is a simple adjustment that can double the life of your boot’s interior.
Your Action Plan: The Heel Lock Lacing Technique
- Thread laces normally up to the second-to-last eyelet.
- Create a loop by threading each lace through the top eyelet on the same side, going from the outside in.
- Cross the laces and thread each one through the loop you created on the opposite side.
- Pull downward and then outward to tighten the loops, creating a ‘lock’ that pulls your heel firmly into the boot’s heel cup.
- Tie your boots as you normally would. This simple change dramatically reduces the internal friction that destroys heel linings.
When to Resole Your Boots to Extend Their Life by another 3 Years?
One of the defining characteristics of a truly durable, investment-grade boot is its ability to be resoled. This is the ultimate expression of sustainable footwear, allowing you to replace the worn-out outsole while keeping the perfectly broken-in upper. For boots with a Goodyear welt or stitchdown construction, resoling is not just possible but expected. It’s a cost-effective strategy, as resoling costs approximately 30% of a new boot’s price, effectively giving you a new lease on life for a fraction of the replacement cost.
The key is knowing when to act. Waiting too long can cause irreparable damage to the midsole or even the welt, making a resole impossible or prohibitively expensive. You must learn to perform “wear forensics” on your own boots. The first and most obvious indicator is tread depth. When the lugs in the high-wear areas (typically the outer heel and the ball of the foot) are worn down to less than 2-3 millimeters, your grip and stability are compromised, and it’s time to consider a resole.
However, tread depth isn’t the only sign. Look for uneven wear patterns. If one side of your heel is worn down significantly more than the other, it can affect your gait and lead to joint pain. More critically, inspect the midsole. If you see deep creasing, cracking, or signs that the midsole is compressed and no longer providing support, it’s a definite sign that the sole’s structural integrity is gone. As experts from the Nicks Boots Maintenance Guide note, “Regularly inspecting the soles ensures you catch wear early and restore the boots before further damage occurs.” Acting promptly preserves the upper and ensures the boot can be successfully rebuilt for many more years of service.
How to Heat Wax for Deep Penetration Without Burning the Leather?
Properly conditioned leather is incredibly resilient, but it is not invincible. Over time, leather loses its natural oils and fats, making it dry, brittle, and susceptible to cracking—especially after exposure to water and tension. While surface-level conditioners offer temporary moisture, deep penetration with a wax-based treatment is essential for long-term water resistance and flexibility. The challenge, however, lies in getting the wax to penetrate deep into the leather’s pores without using excessive heat, which can permanently scorch and shrink the leather fibers.
The common mistake is to heat the wax itself. A hot wax is difficult to apply evenly and poses a significant risk of burning the leather on contact. The correct, and safer, method is to gently warm the leather first. This opens up the pores of the leather, allowing room-temperature wax to melt on contact and be drawn deep into the fibers through capillary action. This ensures a much deeper and more uniform treatment without the danger of creating localized hot spots.
Applying this technique requires a careful, methodical approach. It is not a process to be rushed. The goal is gentle, even heat that makes the leather warm to the touch, but never hot.
- Begin by thoroughly cleaning the boots to remove any microscopic dirt and old polish. The leather must be completely dry.
- Use a hairdryer on a medium heat setting, holding it at least 6 inches away from the leather surface.
- Move the hairdryer in constant, sweeping motions across a small section of the boot. Never hold it in one spot. The goal is to warm the leather, not cook it.
- Once the section is warm, apply a high-quality, room-temperature boot wax or grease with your fingers or a soft cloth. You should see it melt and absorb almost instantly.
- For stubborn seams or welt joints, a heat gun on its absolute lowest setting can be used for no more than 3-5 seconds, but this is an advanced technique. Always test heat on an inconspicuous area, like the tongue gusset, first.
Leather vs Cordura: Which Material Survives Sharp Limestone Rocks?
The choice of upper material is a constant debate between traditionalists and modernists: full-grain leather versus advanced synthetic fabrics like Cordura. When the primary environmental threat is abrasion from sharp rocks, such as granite or limestone, the analysis becomes a matter of material science. Cordura, a high-tenacity nylon fabric, offers excellent tensile strength and is lightweight. However, its durability against abrasion is a function of its weave and denier (fiber thickness). While highly resistant to scuffs, a single, sharp point of contact can potentially snag and tear the fabric’s woven structure.
Full-grain leather, on the other hand, presents a different defense mechanism. As a non-woven, fibrous material, it resists cuts and punctures through its sheer density and thickness. It doesn’t have a weave to snag. A sharp rock is more likely to gouge or scratch the surface of the leather rather than create a catastrophic tear. The durability is directly proportional to its thickness; analysis shows that quality work boot leather typically measures 2.3 to 2.5 millimeters thick. This substantial mass provides a formidable barrier against abrasion.
In extreme durability tests simulating wear against sharp edges, the difference in material resilience becomes clear. While not a direct leather-to-Cordura comparison, one test showed that after repeated strikes with a sharp object, one material suffered significant damage while another was almost unscathed, highlighting how different materials handle concentrated stress. For survival against the jagged, unpredictable edges of limestone, the dense, uniform structure of a thick, full-grain leather upper generally provides superior abrasion resistance compared to a woven synthetic. While heavier, leather’s ability to endure gouges without structural failure gives it the edge in rocky, abrasive environments.
Key Takeaways
- True durability is found in construction methods (welting) and material quality (full-grain leather, PU midsoles), not brand names.
- Most boot failures are predictable and preventable by inspecting critical points like stitching density and flex zones before purchase.
- Proper user maintenance, including heel-lock lacing and timely resoling, is as crucial as the initial build quality for achieving a 5+ year lifespan.
High-Performance Hiking Boots: Which Model Maximizes Agility on Alpine Trails?
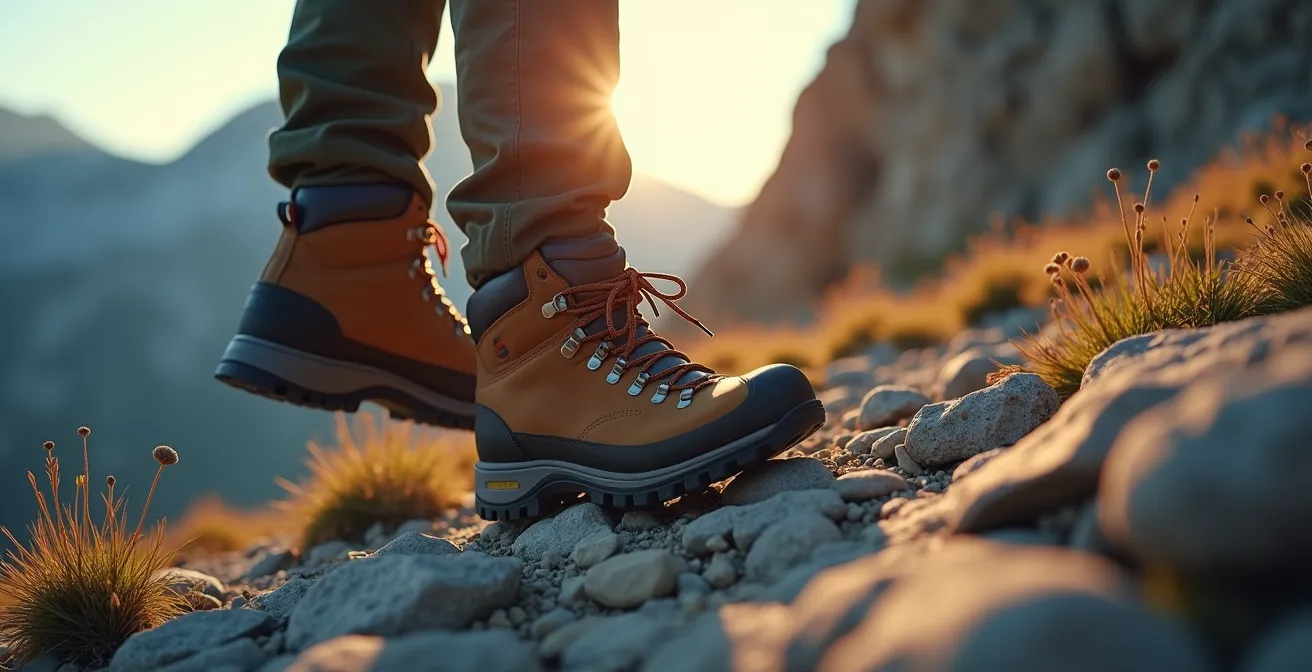
When the objective shifts from pure durability to maximizing agility on technical alpine trails, the engineering trade-offs become more pronounced. Agility in this context means a boot that feels like an extension of your foot, providing precise feedback from the ground while still offering necessary support and protection. This is not about finding the “best” boot, but the optimal balance of features for fast and confident movement over rock, scree, and uneven terrain.
This balance is achieved through a combination of four key design elements: sole rocker, rock plate stiffness, lacing system, and overall weight. A boot with a pronounced rocker (the upward curve of the sole at the toe and heel) promotes a more natural and efficient gait, allowing for a faster toe-off. However, this can come at the cost of stability on flat ground. Similarly, a thin rock plate offers better “ground feel,” allowing you to sense the terrain underfoot for more precise foot placements, but it provides less protection from sharp rocks compared to a thick, stiff plate. Lightweight construction reduces fatigue and allows for quicker movements, but often involves sacrificing some measure of long-term durability.
The table below breaks down these trade-offs, which are essential to consider when selecting a boot for agile, high-performance hiking.
| Feature | Impact on Agility | Trade-off |
|---|---|---|
| Pronounced Rocker Sole | Faster toe-off, natural gait | Less stability on flat surfaces |
| Thin Rock Plate | Better ground feel | Less protection from sharp rocks |
| Lacing to Toe | Precise fit adjustment | Longer lacing time |
| Lightweight Construction | Less fatigue, quicker movement | Reduced durability |
Ultimately, a boot that maximizes agility without completely sacrificing durability will feature a carefully engineered combination of these elements. It will likely use high-quality, full-grain leather for its resilience, paired with a sophisticated sole that balances flex, protection, and weight. As boot experts from Nicks Boots emphasize, “When paired with durable rubber soles, full-grain leather ensures boots withstand rough use without compromising support or structure.” The ideal agile boot isn’t the lightest or the stiffest; it’s the one that achieves the most intelligent compromise for the specific demands of alpine terrain.
By adopting this analytical mindset, you transform yourself from a passive consumer into an informed inspector. The next time you shop for boots, you won’t be swayed by marketing slogans or cosmetic features. You will be conducting a structural assessment, armed with the knowledge to identify the true hallmarks of quality and longevity. This is how you find the boots that will become trusted companions on the trail for the next five years, and beyond.